
Renovating your old landed house doesn’t need to break the bank. Find out how this finance couple did it
Having a clear idea of what they wanted for their new home helped the couple prioritise what needed to be done to create a home where comfort meets connection.
By Lynn Tan -
Share this article
Who Lives Here: A couple, their two sons and a Beagle
Home: A terrace hous in Siglap
Size: 1,629 sqft (land area); 4,000 sqft (built-up area)
Interior Designer: RENOSTUD.IO
Moving from a home that you love, one where your children were born and raised in, and surrounded by a close knit community is never easy. 40-somethings Joshua and Sharyn, who work in finance, made the tough decision to move out of their condominium in Keppel Bay after living there for 11 years because they needed more space for two energetic boys aged 11 and eight, and an active 4-year-old Beagle.
Initially, they limited their search to newer condominiums that were not too far away from their offices in the CBD. “However, we quickly realised that we cannot have it all unless we have an unlimited budget,” says Joshua. They eventually decided on this terraced home in the East after viewing more than 100 homes over the course of about a year.
The couple’s brief to Jeremy, managing director of RENOSTUD.IO was to design a modern, cosy, bright and functional home where the family can get comfortable, rest, relax and cook.
Living room
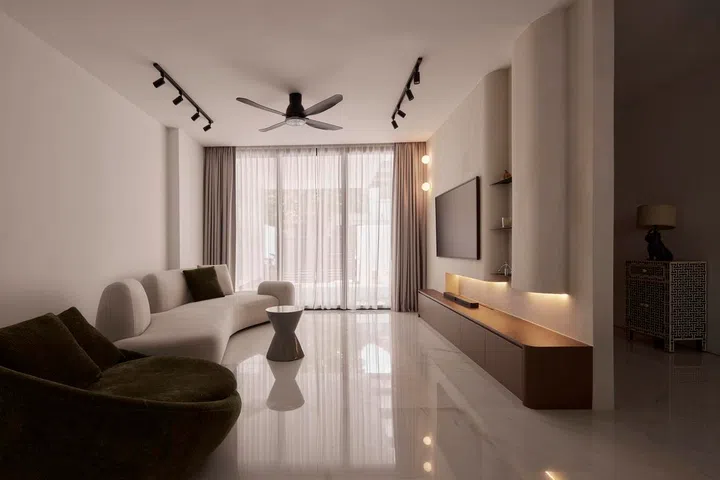
The spacious living room was one of the reasons that the couple was drawn to this home. To preserve the capaciousness, interior designer Jeremy designed a television feature wall that runs along the length of the space without encroaching too much into it.
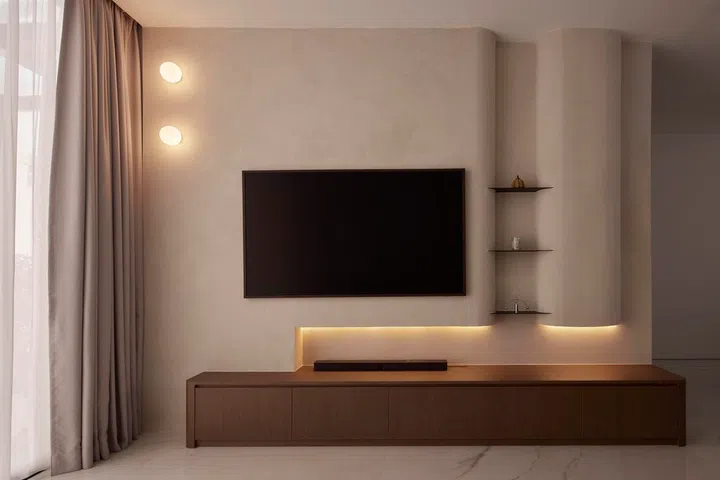
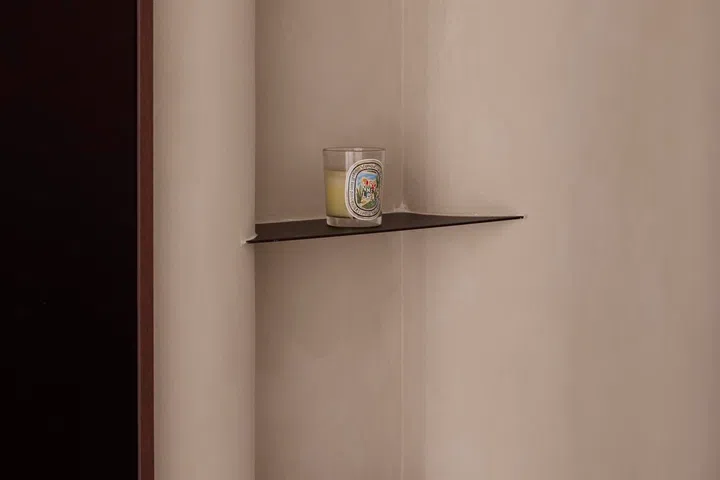
Its asymmetrical design incorporating lighting, three floating shelves and anchored by a timber television console at the base lends an air of quiet sophistication to the living room. The limewash finish imbues the space with a sense of calm.
Kitchen
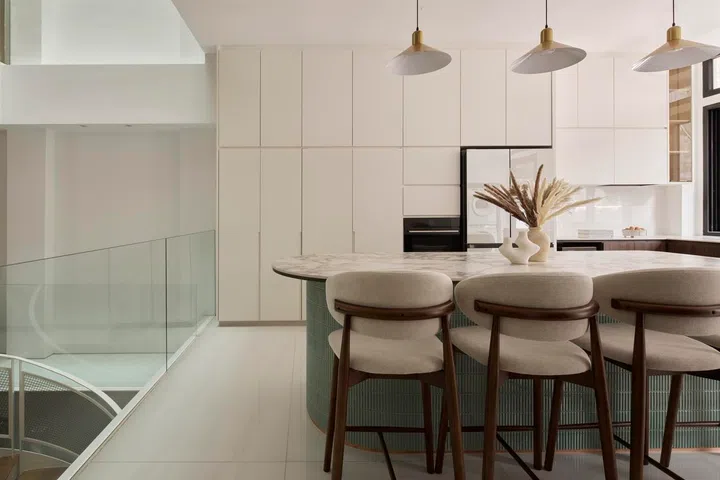
The kitchen is in a prominent location that is visible from the entrance to the home. As such, it was extremely important that the kitchen design had to be not just practical, but aesthetically pleasing too. An island feature is just the thing, not just to make a statement, but also for storage and seating.
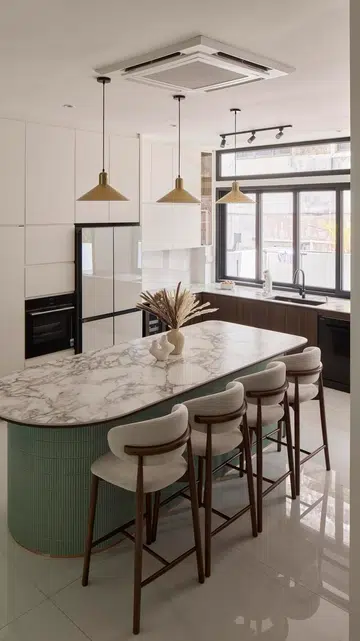
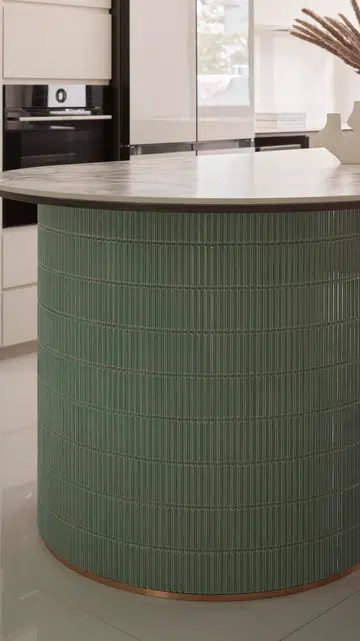
Jeremy introduced green tiles into the kitchen island for a pop of colour that draws people’s attention. The island is one of the couple’s favourite elements in the home. “We love it for its size, colour and material. The Silestone top is brilliant as it is anti-scratch and we love it,” says Sharyn.
Family area
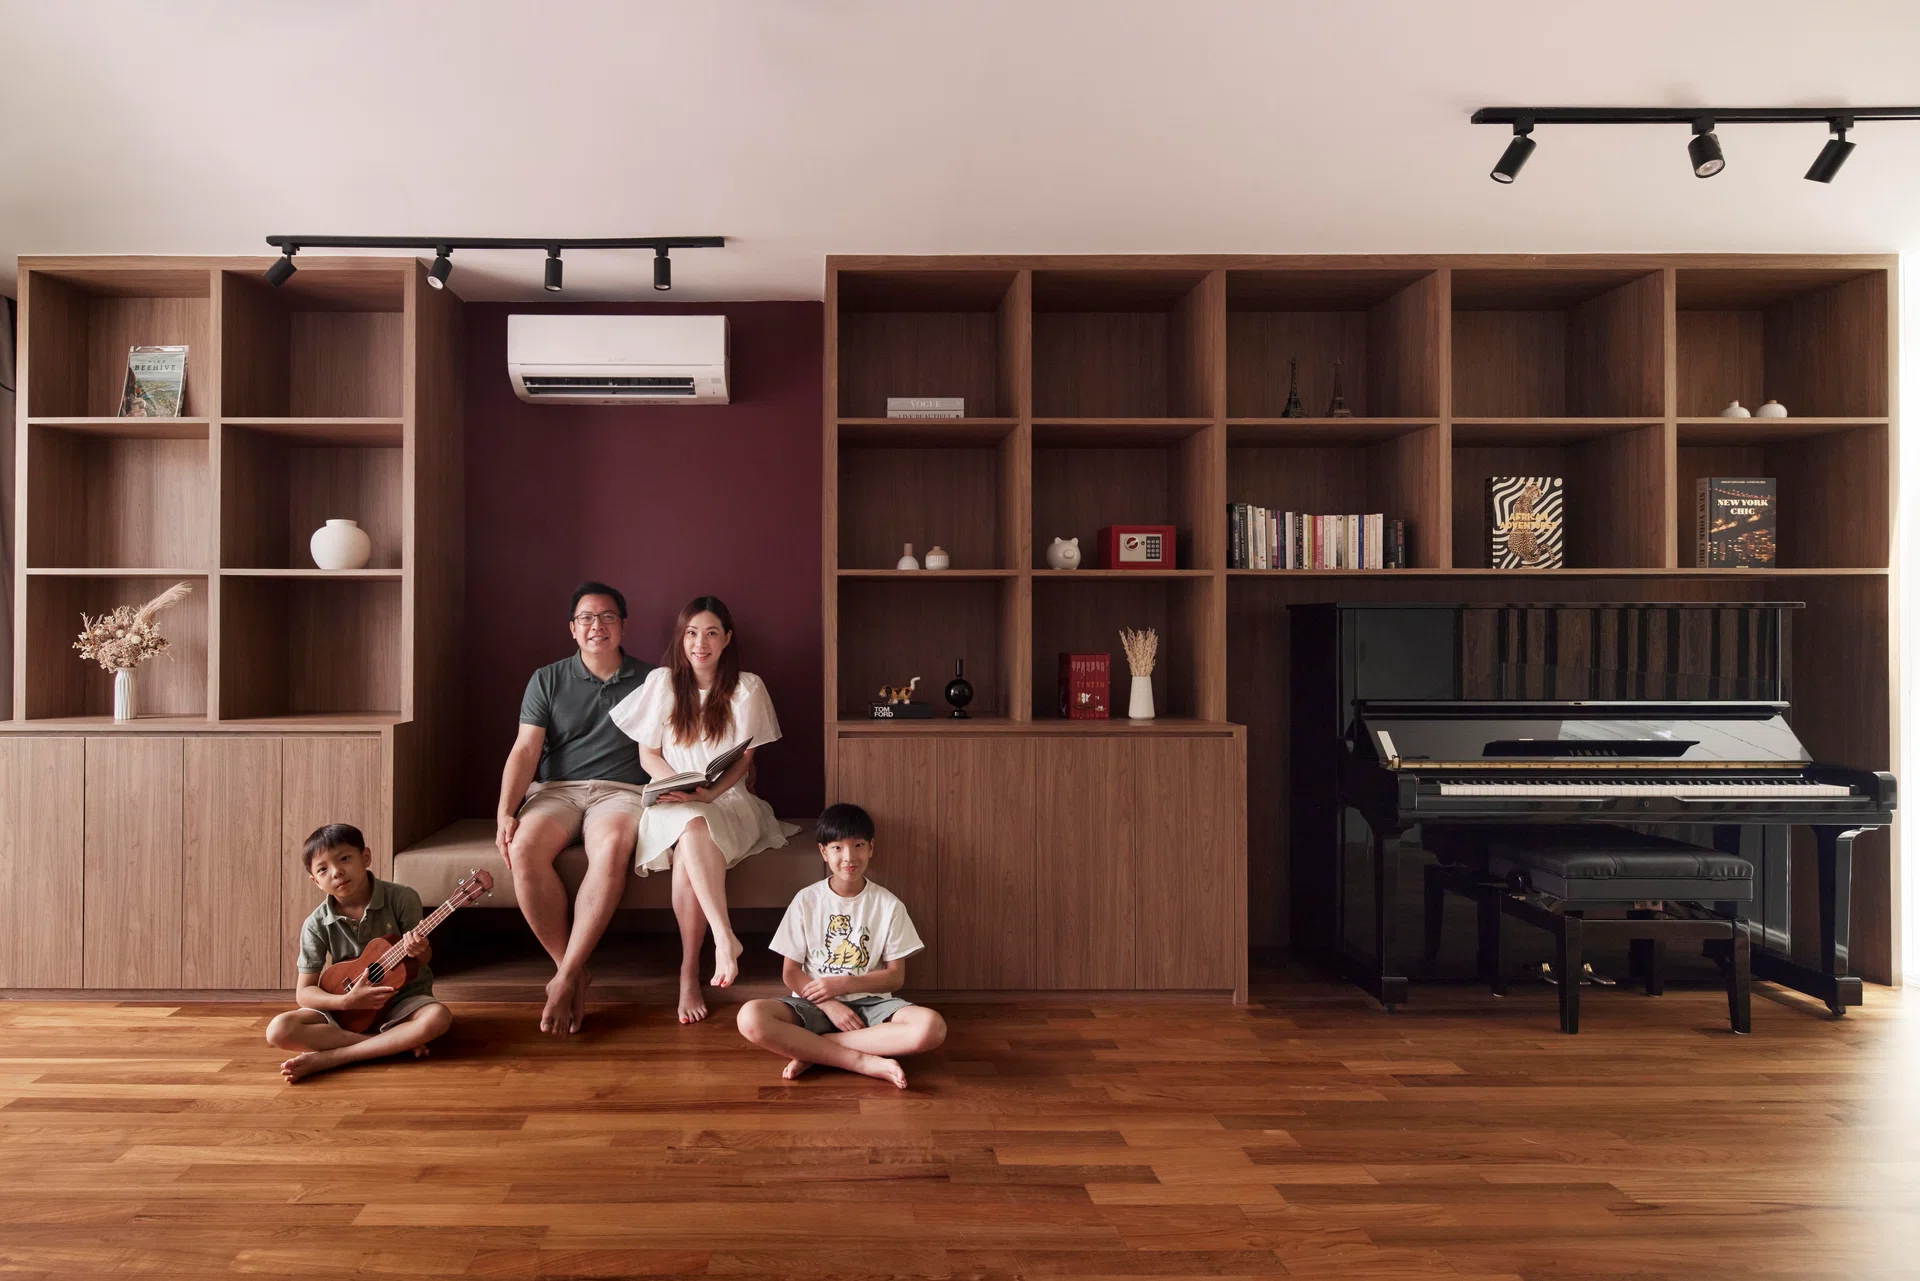
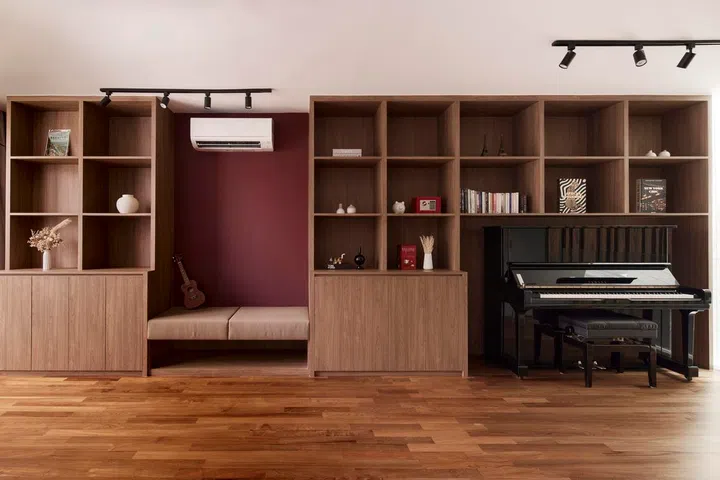
An existing wall was demolished to open up the family area into a conducive space for the family to relax, play board games and even work. Floor-to-ceiling shelves line an entire wall, all the way across and over the top of the piano to form a cohesive composition.
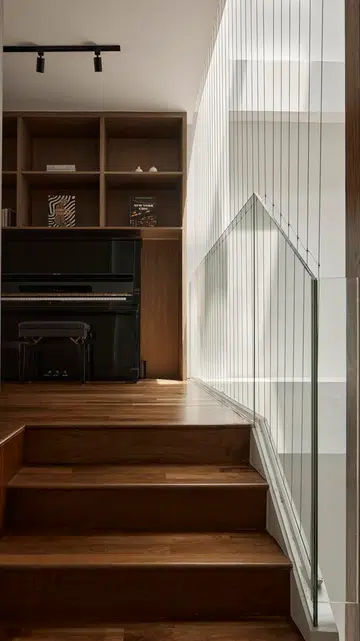
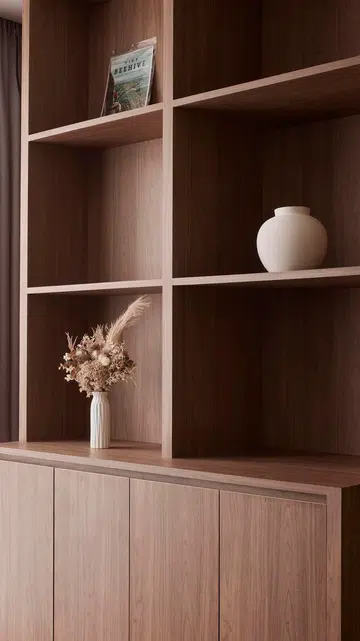
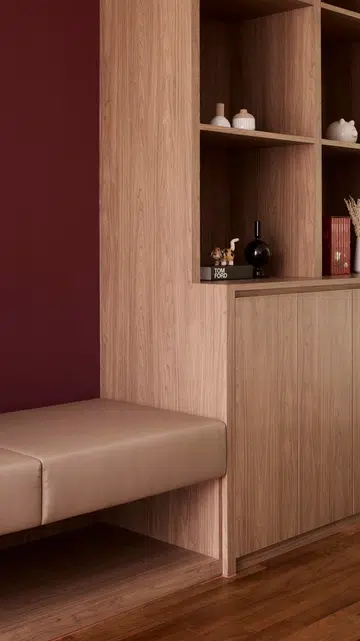
The top half comprises mainly open shelves for display and storage, while the bottom has closed-door cabinets. A built-in bench makes for a cosy nook for the family to hang out.
Master bedroom
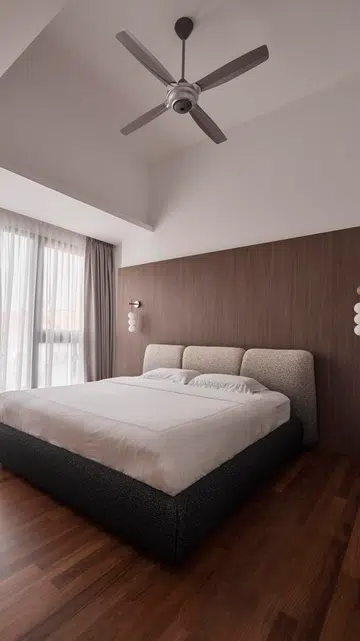
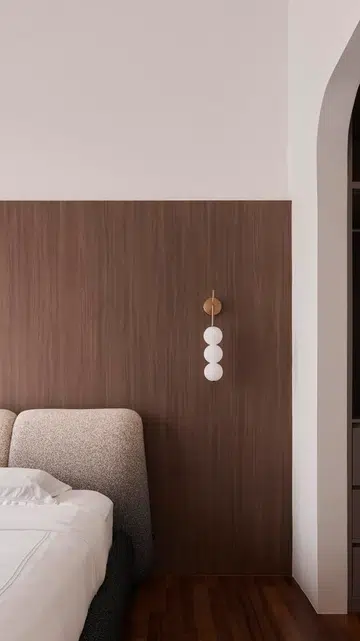
The existing master bedroom had a false ceiling that concealed a cell-like space, which made the room feel cramped and compressed. Removing the false ceiling dramatically opened up the space and transformed it into a much brighter and more airy space.
“We kept the feature wall behind the bed simple, using a laminate similar to the other spaces, so that there is a consistent rhythm throughout the house,” Jeremy explains.
The lighting scheme was also given much thought to create a layered effect achieved by integrating lighting at various levels- the ceiling, the feature wall and the wall lamps on both sides of the bed.
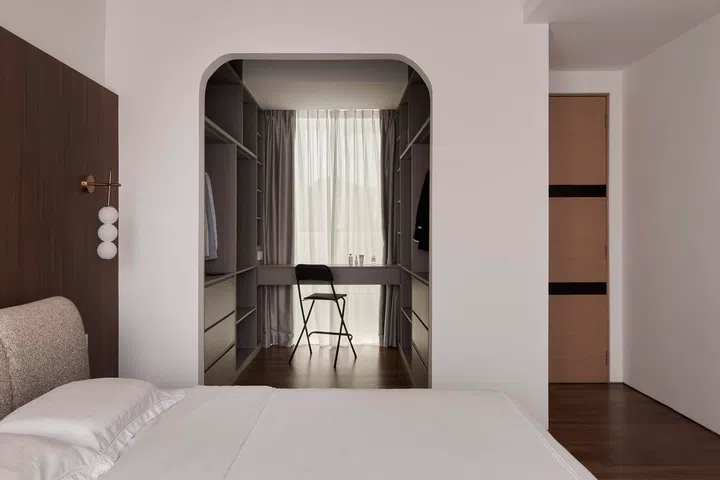
“These light options allow the clients to create the type of ambience that they desire,” Jeremy points out.
Master walk-in wardrobe
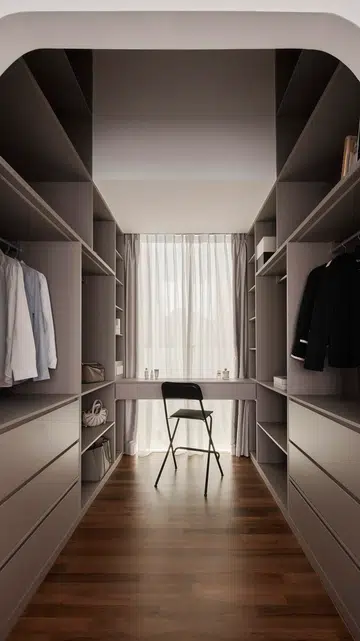
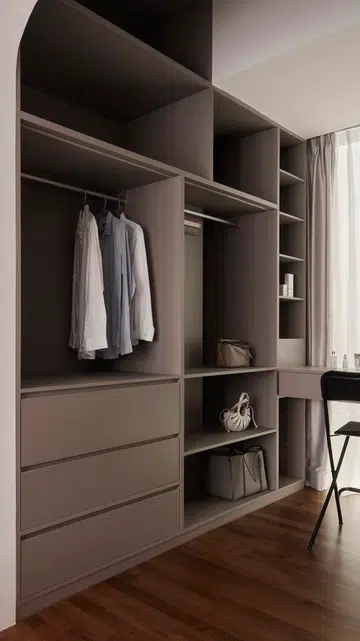
Maximising storage and accommodating a vanity desk were the two key design objectives for the walk-in wardrobe area within the master bedroom.
Jeremy proposed doing away with doors to enhance accessibility and maintain the connection with the rest of the bedroom. The arched portal establishes spatial distinction without actual physical separation.
Boys’ bedroom
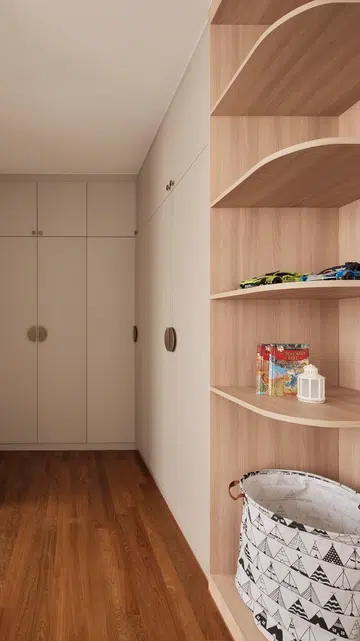
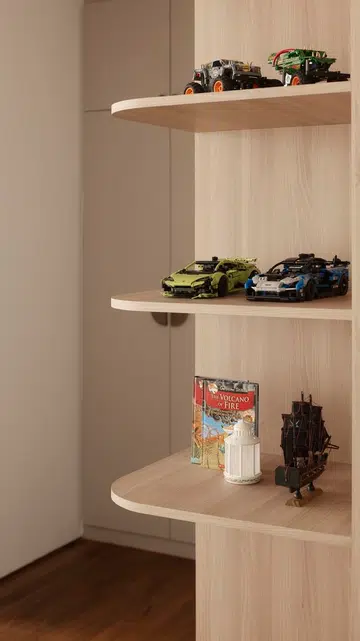
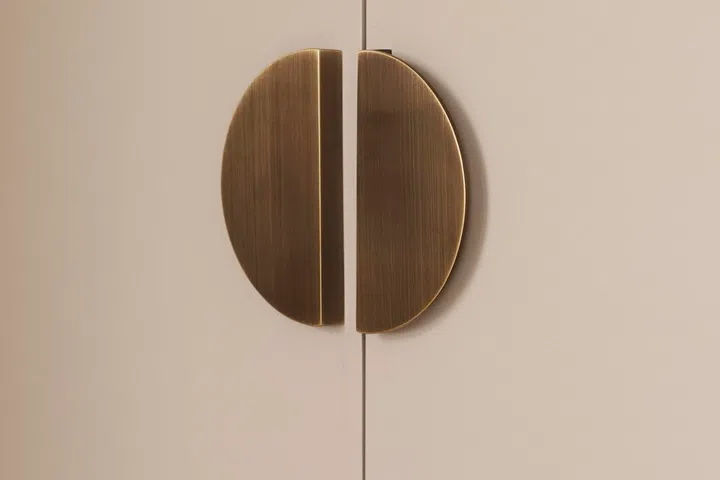
The boys got a brand new wardrobe that was designed and built to maximise storage while incorporating some display shelves. Rounded corners ensure safety while evoking a playful touch, complemented by half-moon wardrobe door handles.
$100,000 Renovation cost and duration
One of the main challenges for this project was the tight timeline as the family needed to move in by 31 January 2026. Joshua and Sharyn attribute being able to move in on time to Jeremy and his team: “To coordinate and balance between a rush job and a good job without major drama was a feat.” The renovation was completed in about two-and-a-half months to a cost of about $100,000 excluding furnishings.